
Learning Soldering Basics w/ LED Array Kit
Last week, I ordered multiple DIY soldering kits off of aliexpress so I could learn soldering for future projects while also creating some useful electronics (DIY waveform generator and oscilloscope). My first experience soldering is with this simple $2 led array with varying levels of resistance in series with an led.
Setup
My setup consisted of:
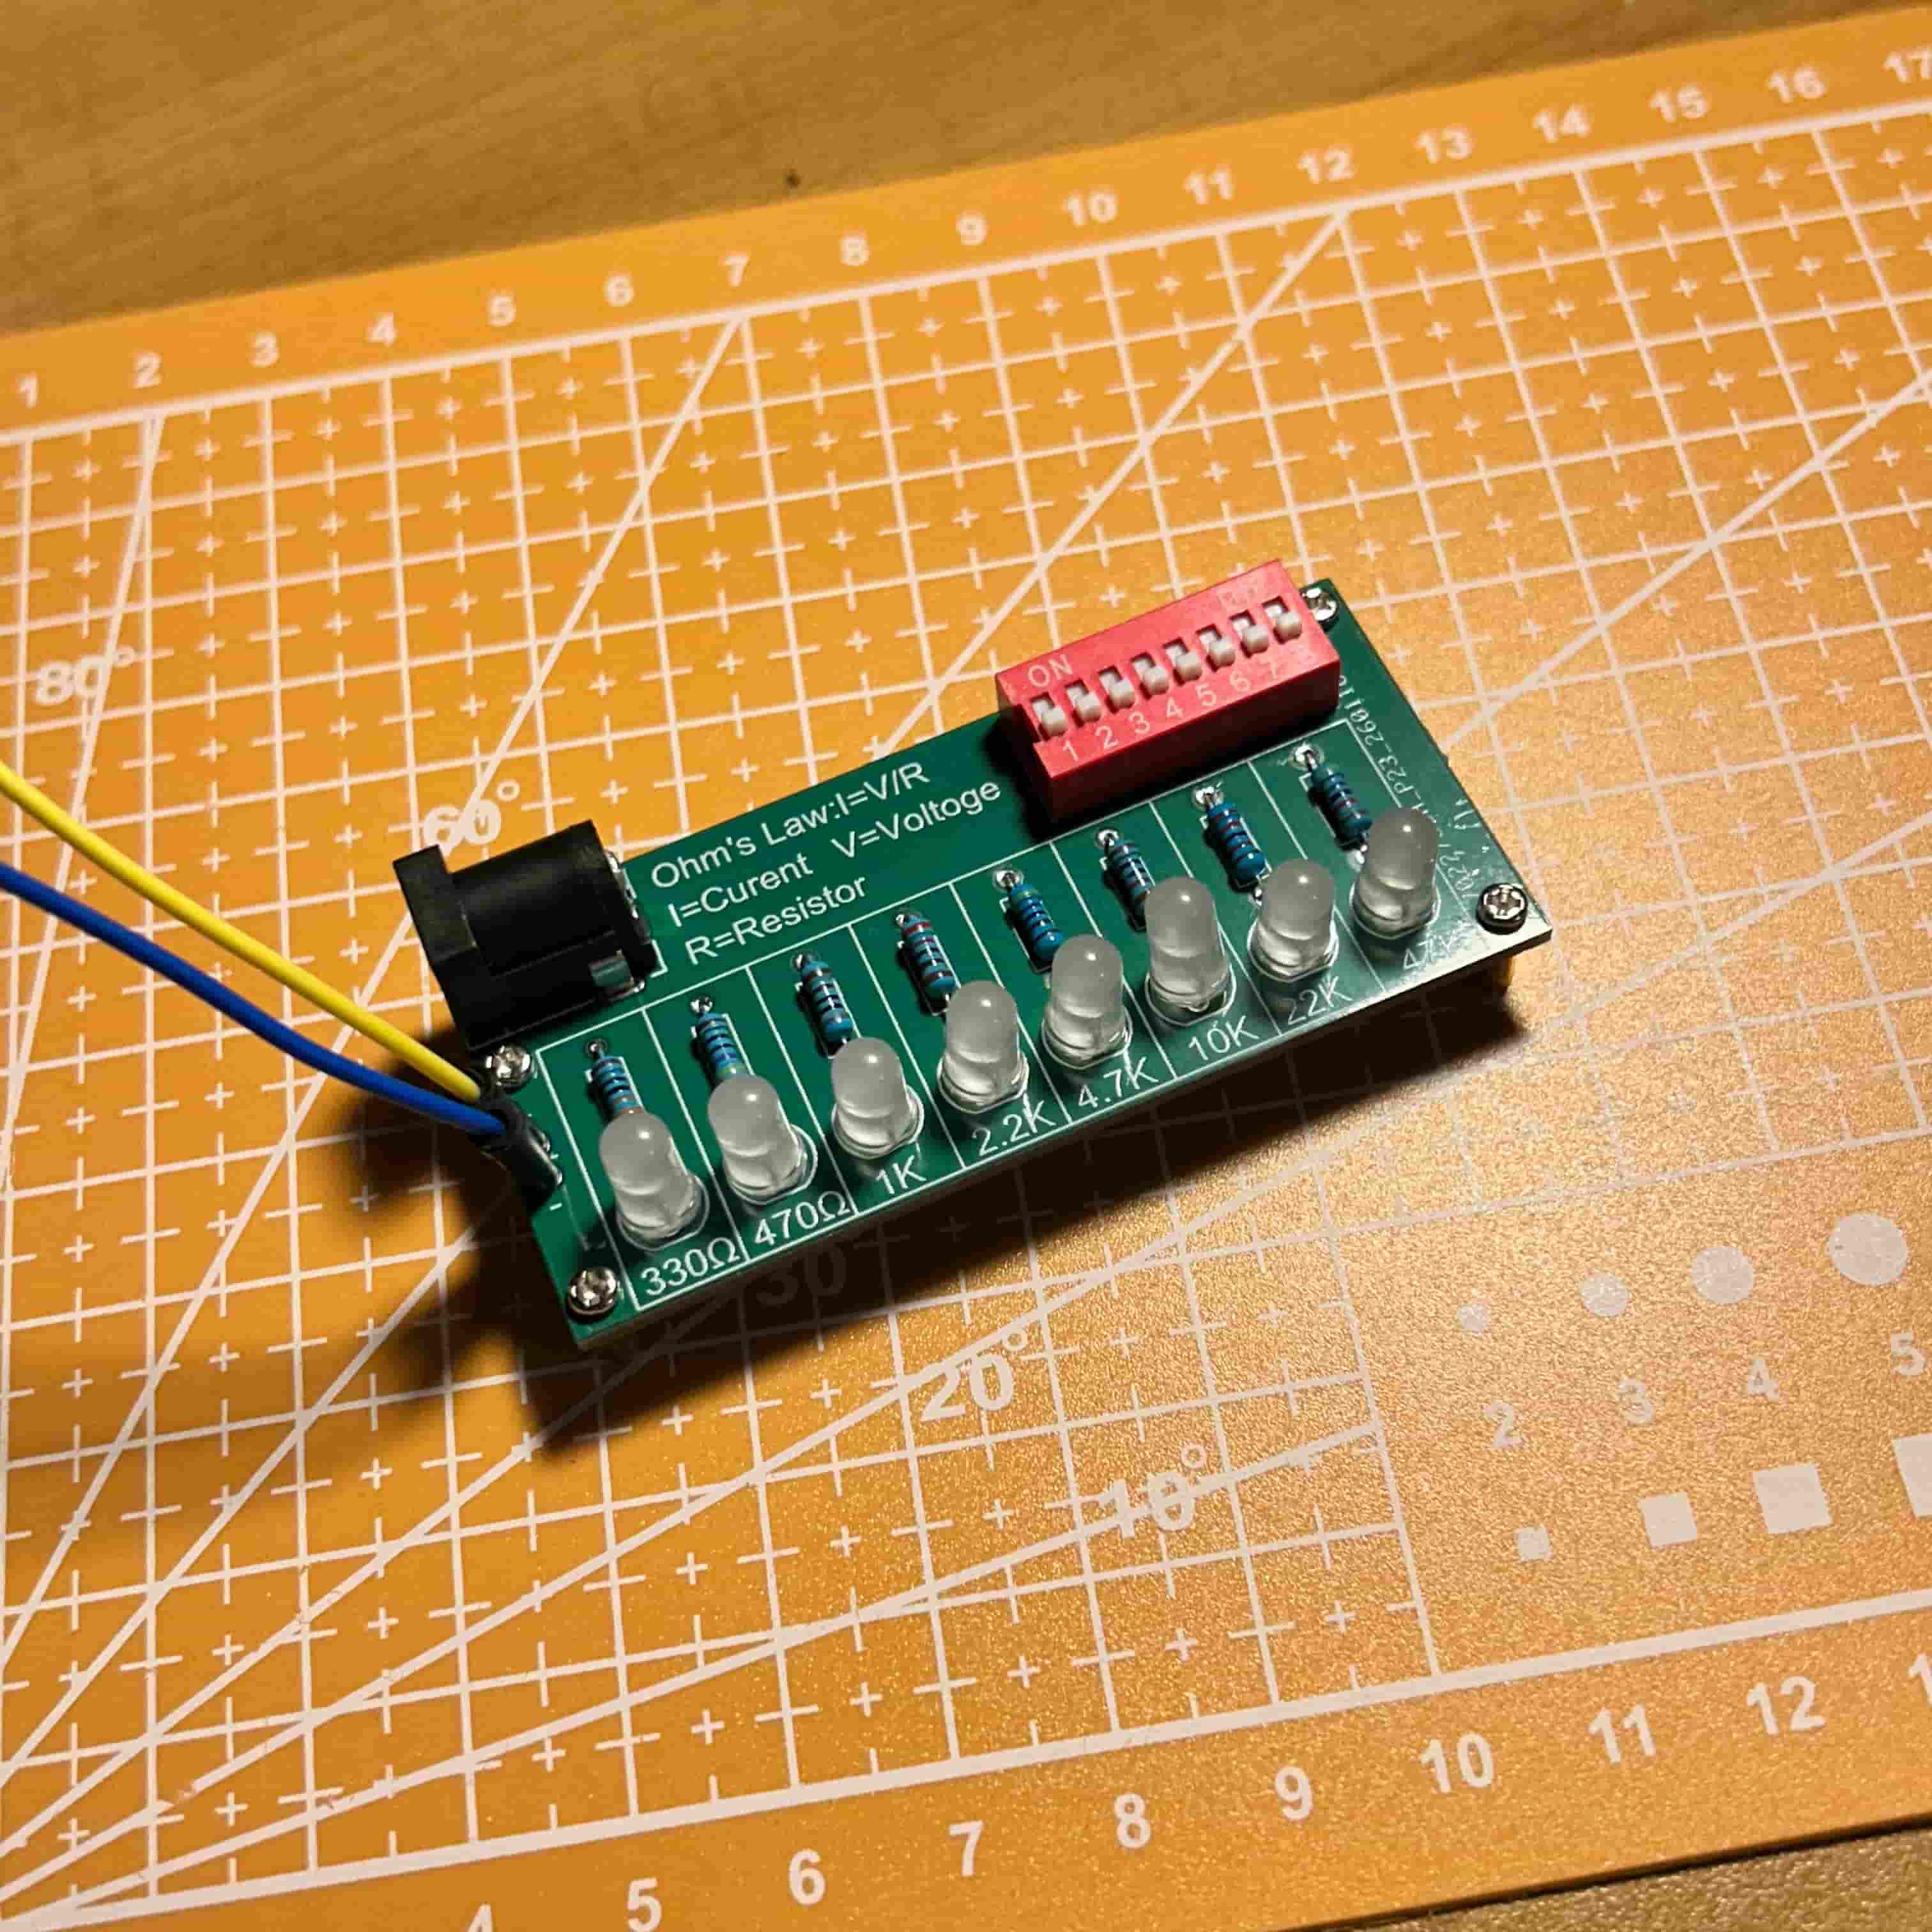
- $2 Aliexpress DIY led array
- $10 Amazon variable temperature soldering iron
- Moist sponge and iron holder
- Lead-Free solder
- Brass sponge tip cleaner
- No-clean flux syringe
- Silicon mat
- Harbor Freight helping hands
- Harbor Freight multimeter
Process
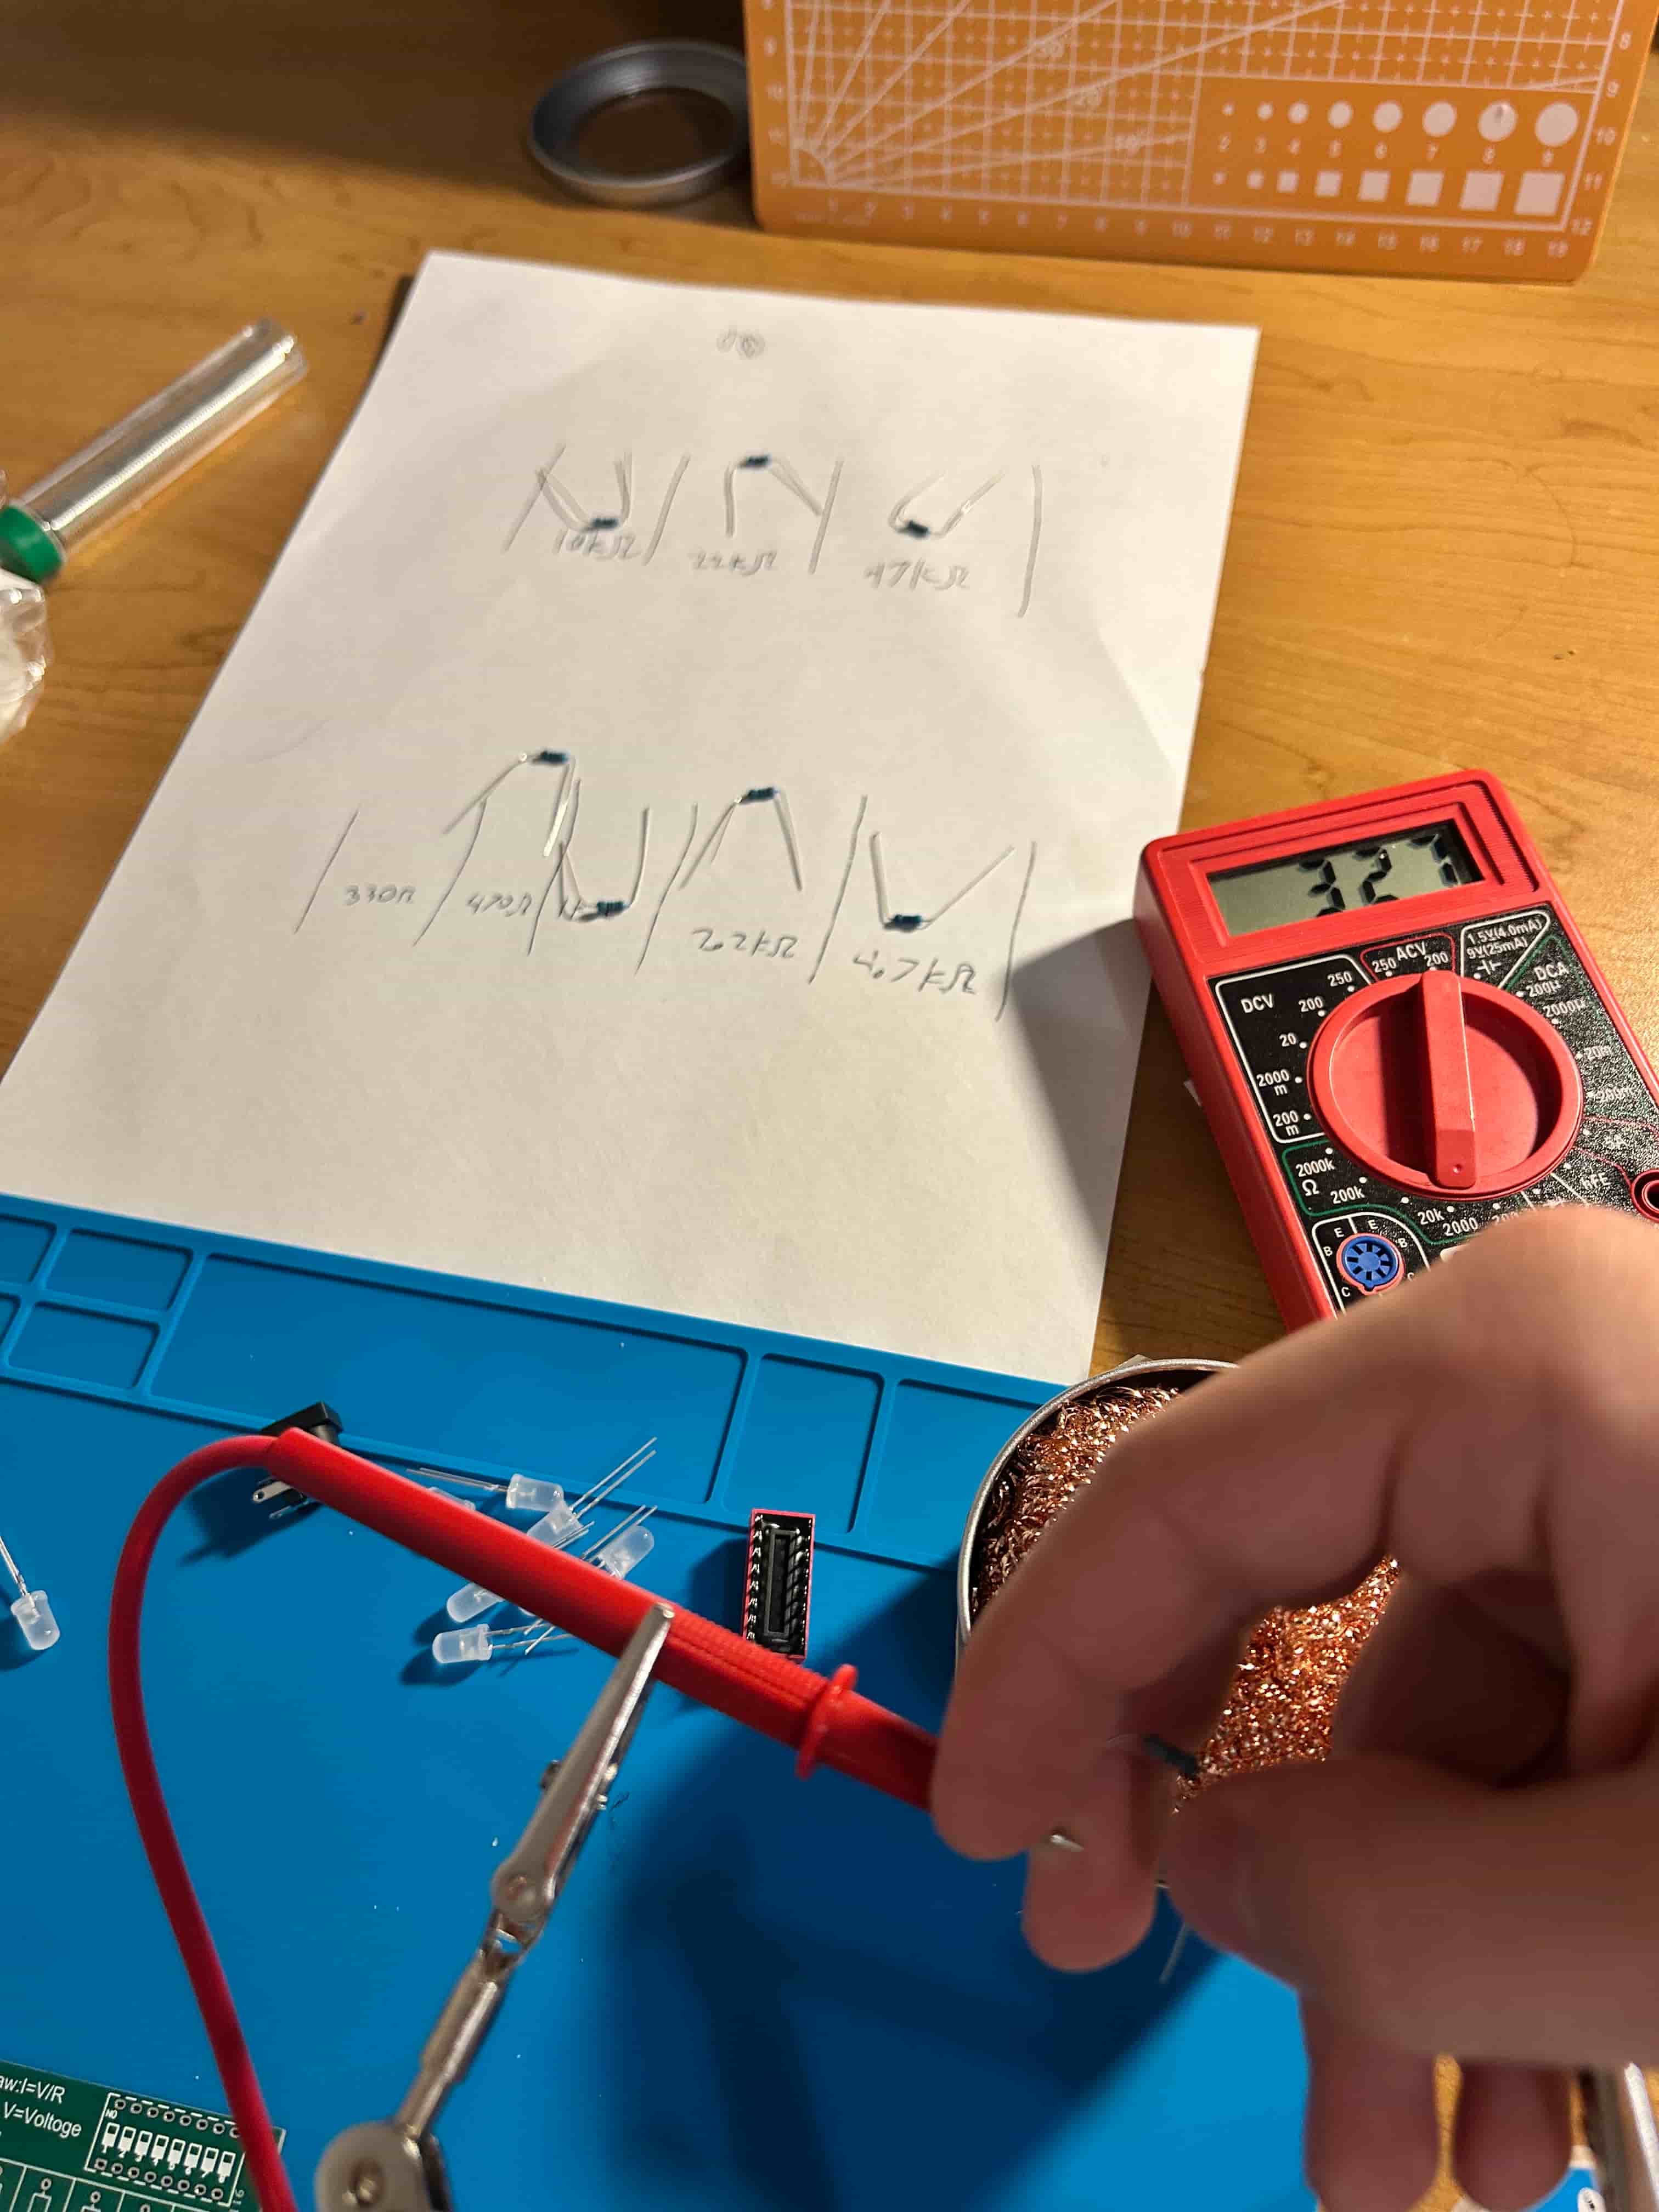
I first measured each resistor with my multimeter and ordered them from smallest resistance to largest. After this, I placed them in their respective through-holes on the PCB. I applied flux on each joint and began soldering. I heated the joint then applied the solder.
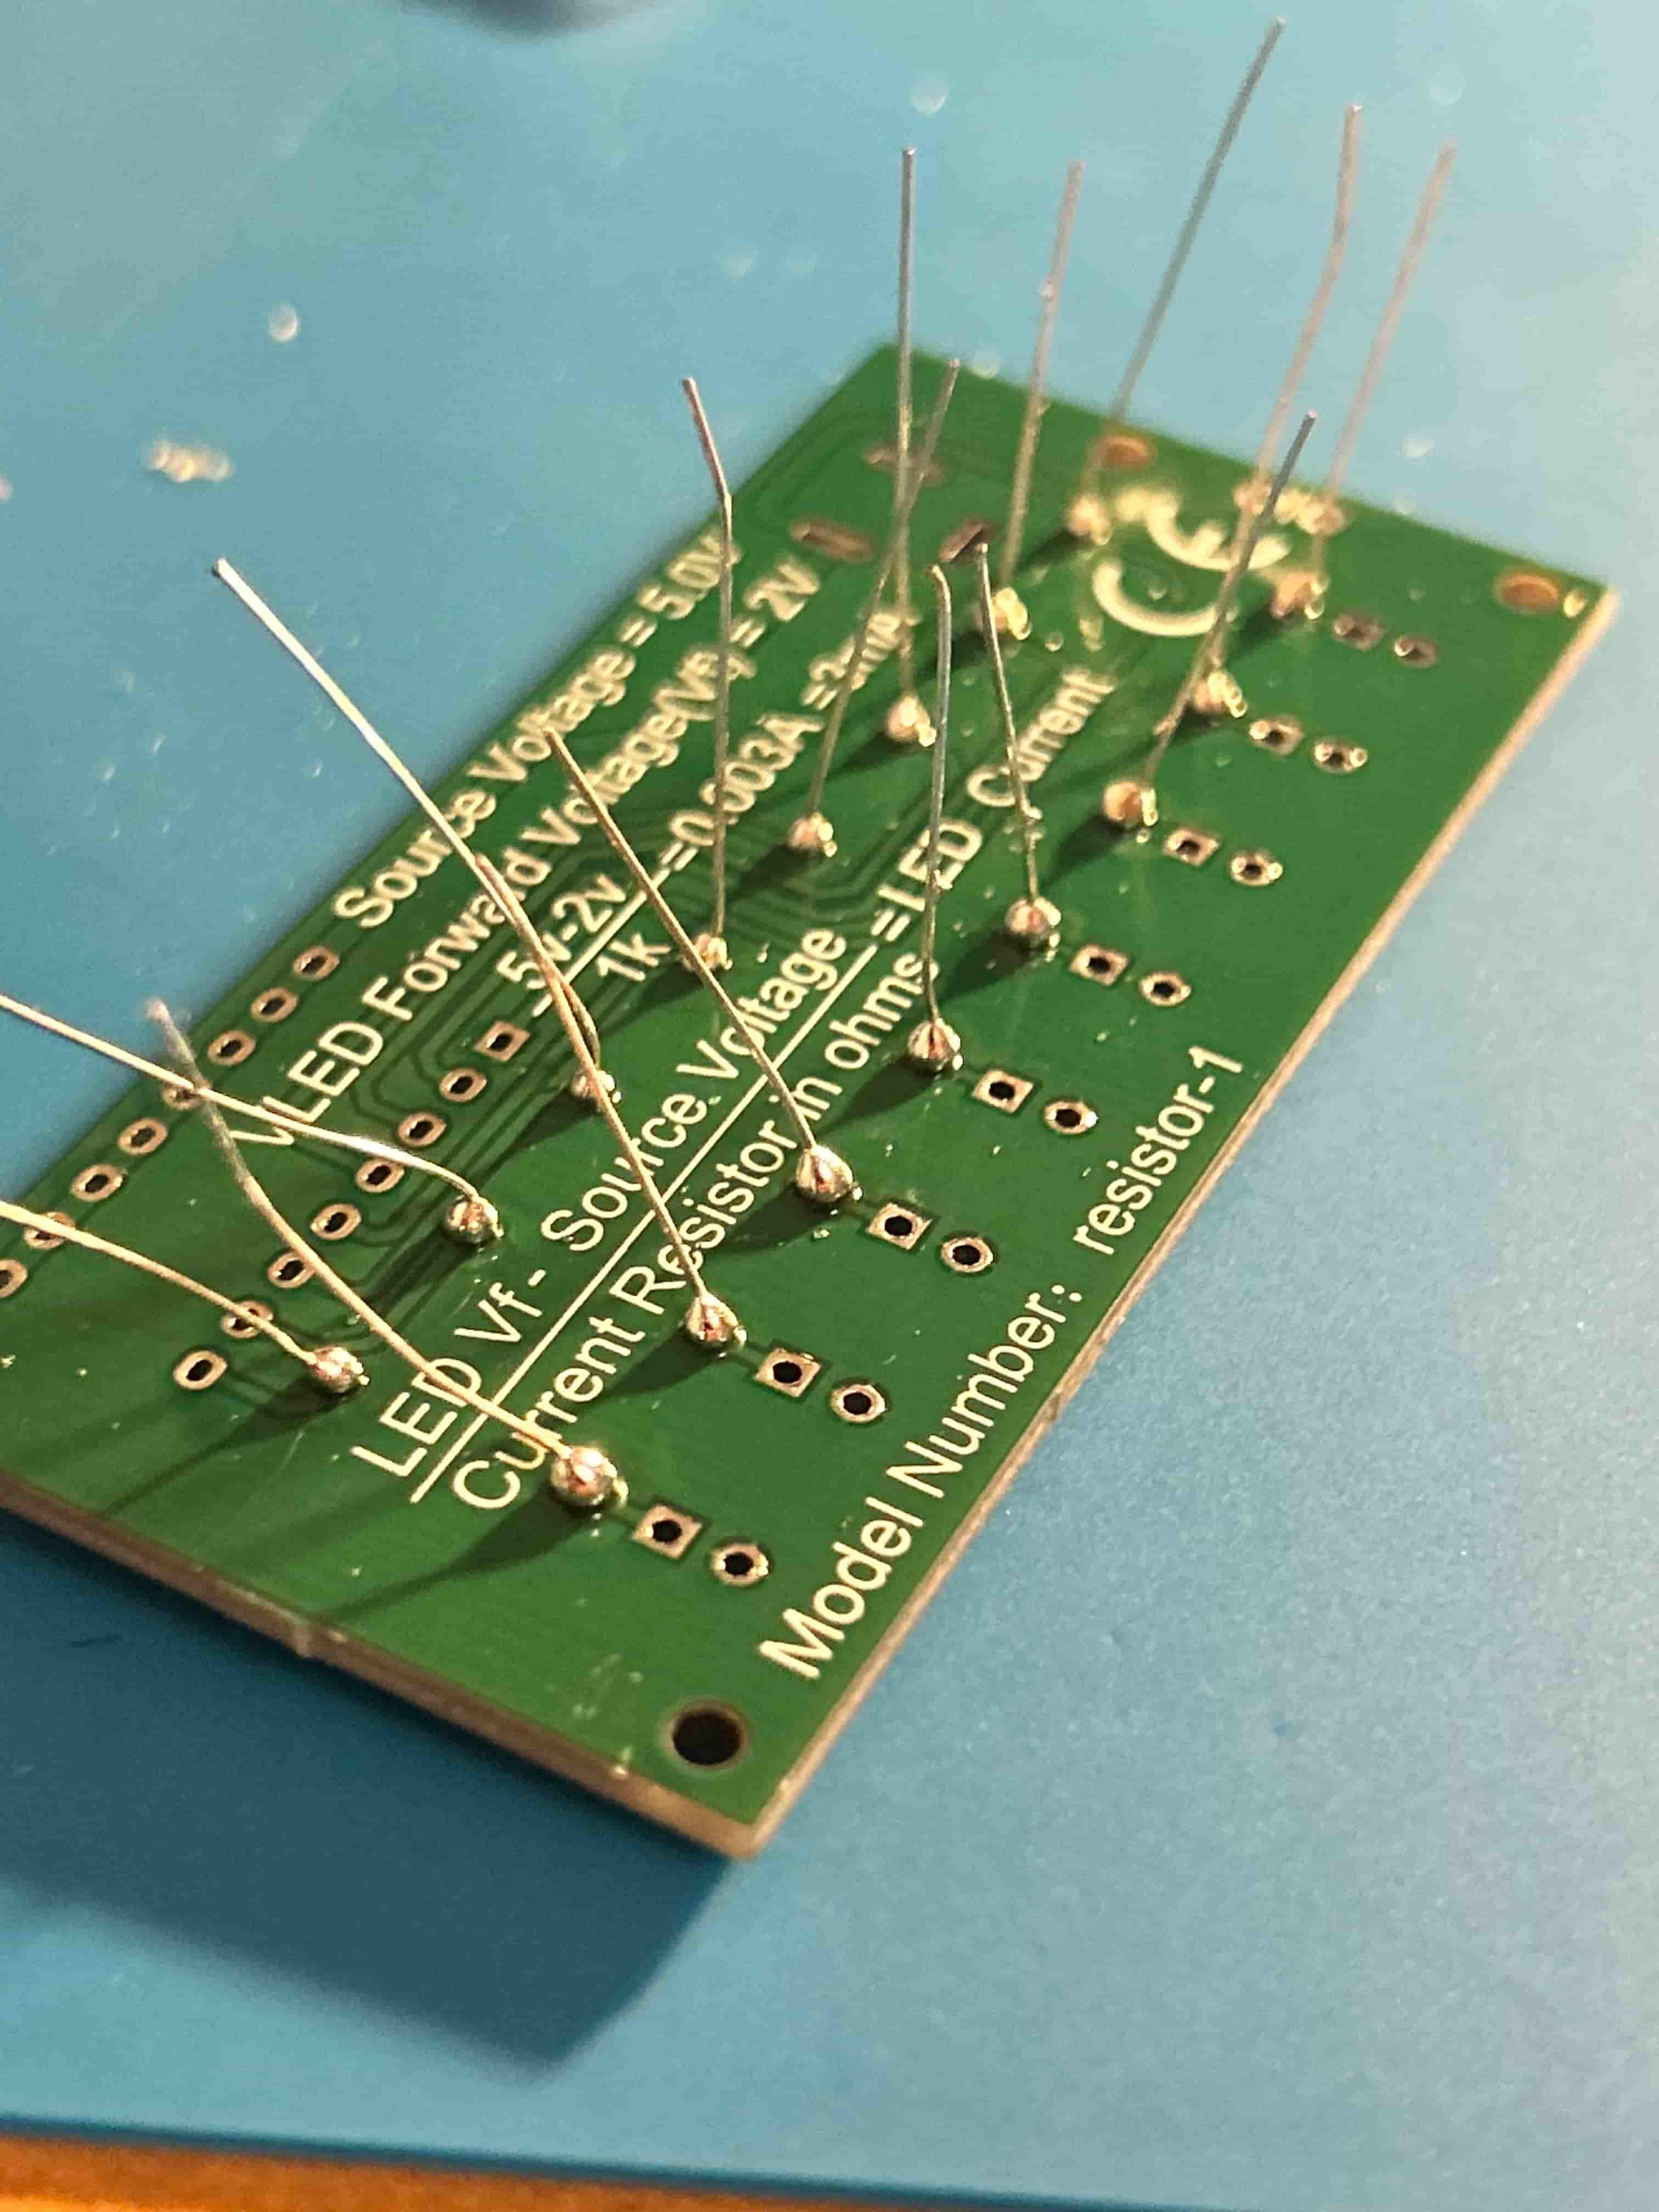
Above is a view of my first round of soldering. Not the best, but I wanted to get my hands dirty with this cheap project and learn by doing.
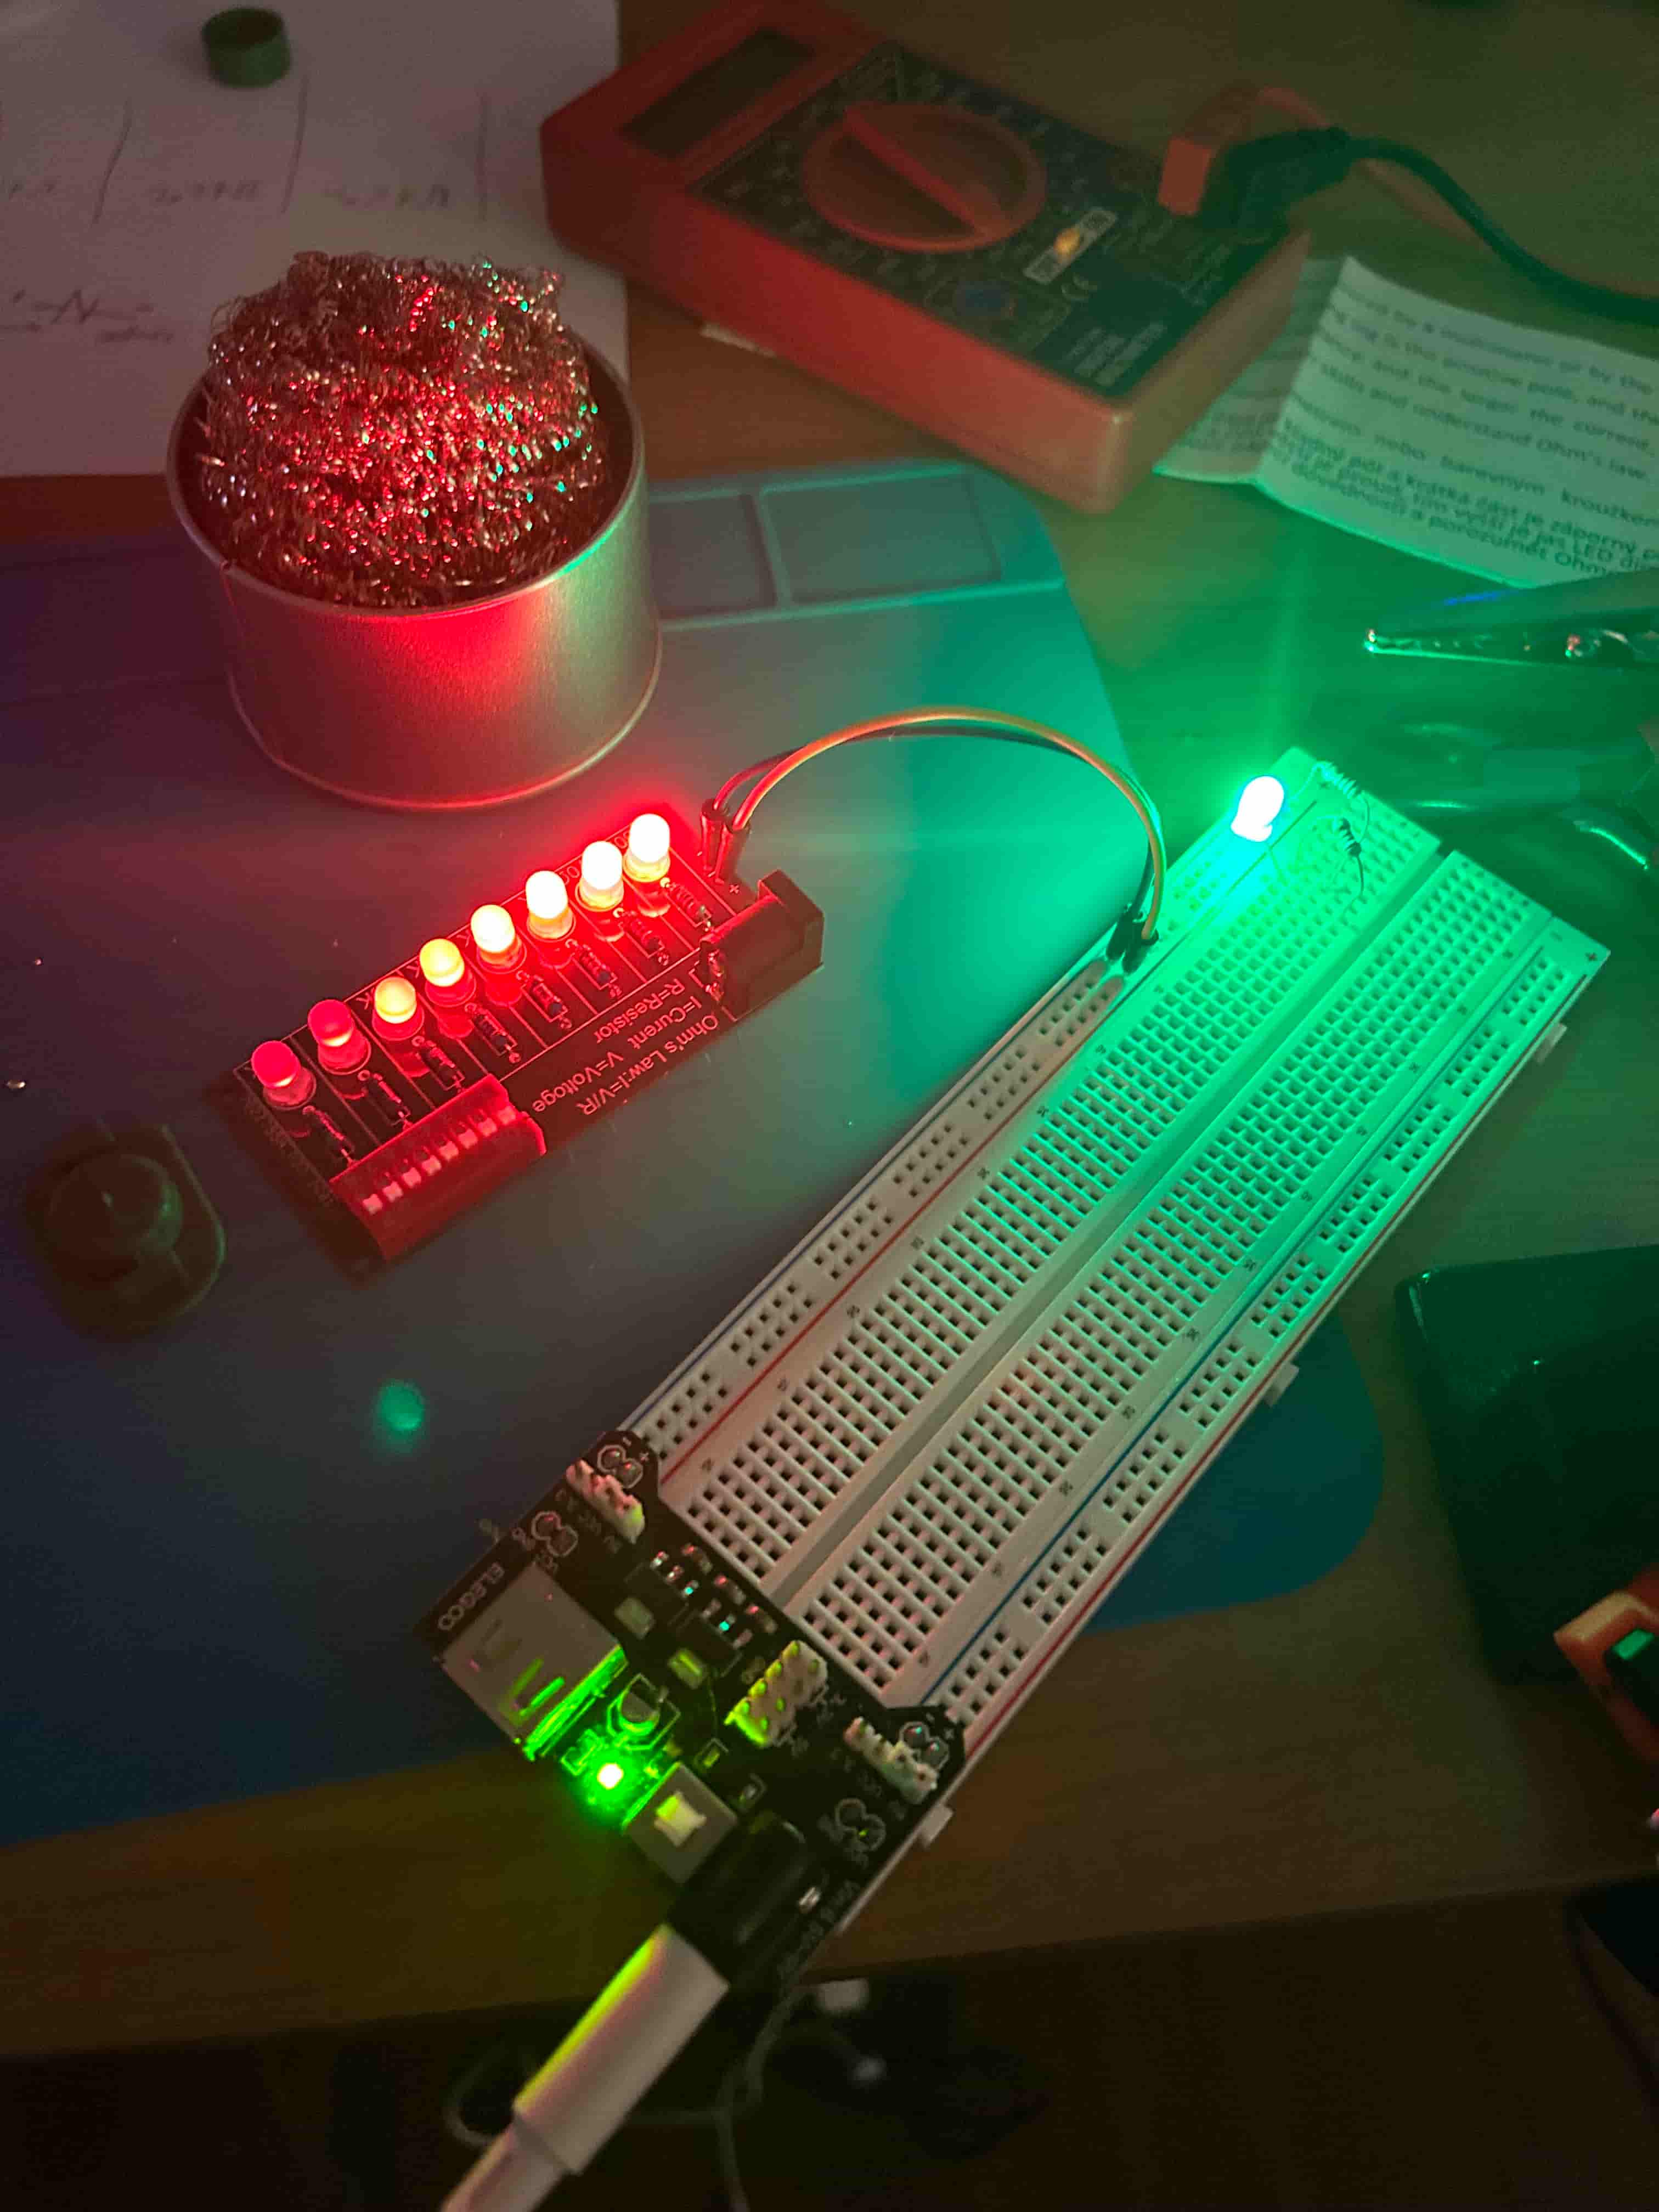
The next step was to place the LEDs into their holes and continue soldering, making sure to get the polarity correct. After this I soldered on the barrel power jack and switch set. My first soldering “job” was finished. Here is the final result being powered by a 5V MB102 supply with the effects of low to high resistance on red LEDs.
Thoughts
I had a great time soldering even with this simple board. I noticed that the quality of my soldering iron’s tip degraded highly even in this hour-long process. I’m pretty sure the tips that came with the iron are just cheap, I should invest in quality tips as I get into more and more advanced projects.